Jupyter Notebooks on Azure
Today I read an article in MSDN magazine about Jupyter Notebooks on Azure. This could be an excellent solution to use Jupyter for companies where Active Directory, Office365, and Azure are tightly integrated, and there is an aversion to installing Anaconda.
Sign In
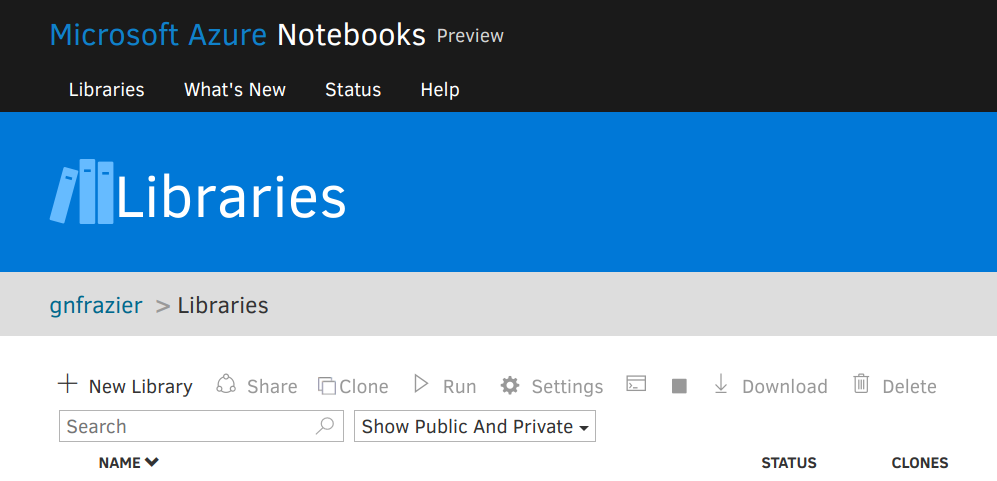
Logging in is easy, but you do need to have Azure enabled for your Active Directory Account (or sign up for a free Azure account). Just go to notebooks.azure.com and sign in.
Libraries

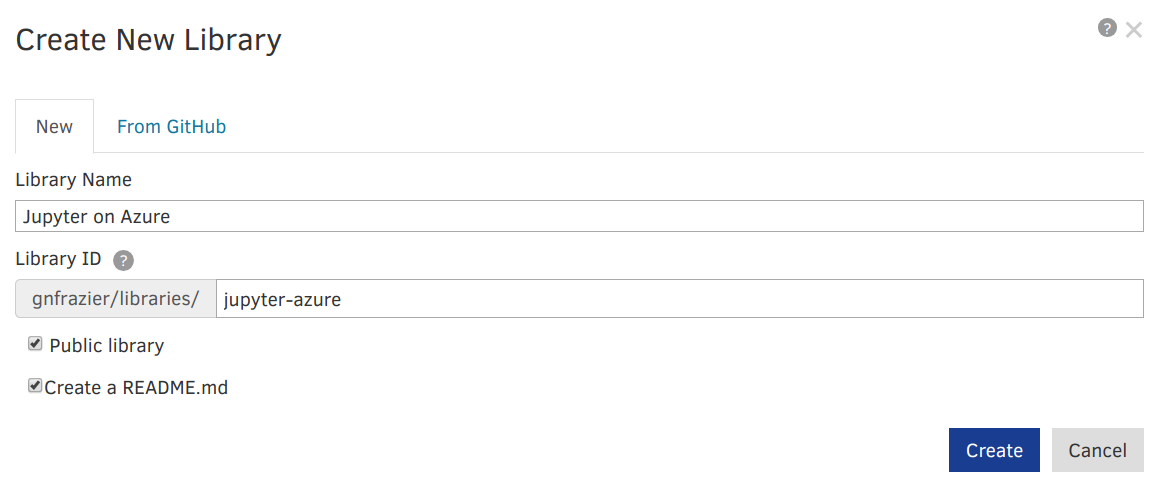
To get going quickly click the libraries option in the header, then + New Library in the options bar.

The fields are well defined. Note the checkbox for Public. Public notebooks are open to the entire Internet. If you have sensitive data or code you are not ready to share, make sure to uncheck the box. I’ll cover sharing a notebook privately in a later section. Select the readme.md option to create a readme markdown file for your library. If you are a GitHub user this process is familiar. Readme.md is like a cover page for your notebook, it is the perfect place to include any special instructions, abstracts of your study, details about your data set that are too long to be included in-line, dependencies, methodologies and so on.
Run

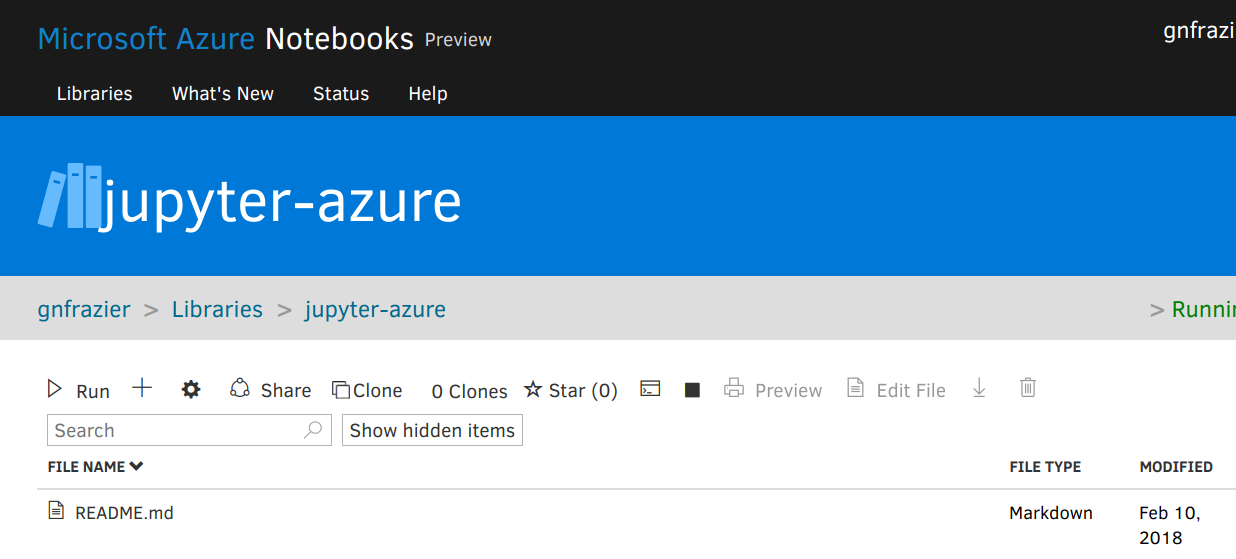
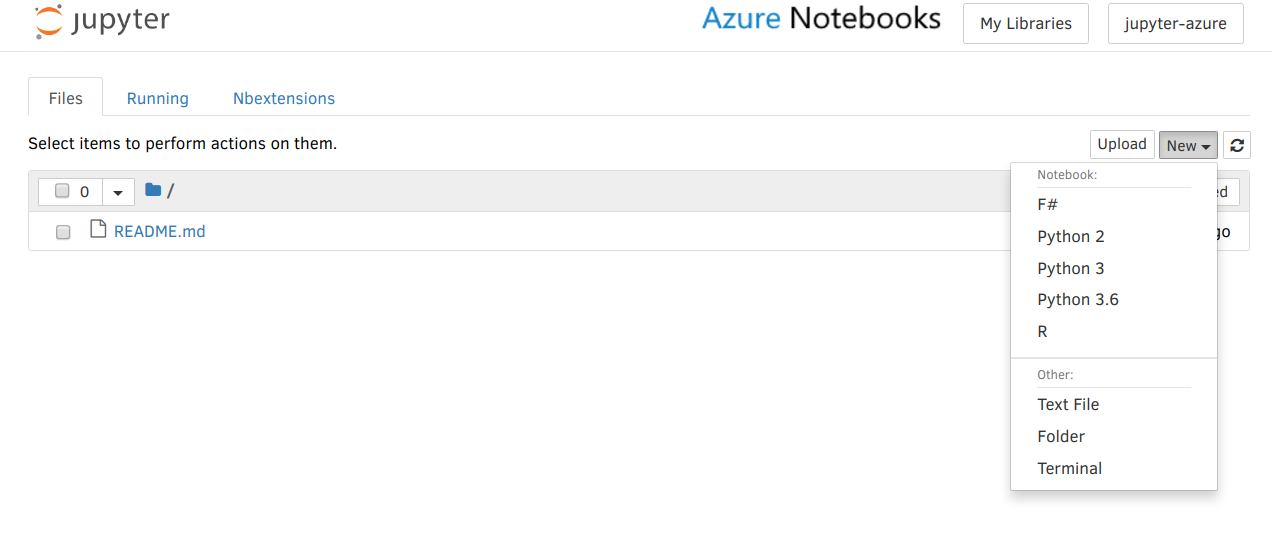
From the library, click run to start Jupyter. If you run Jupyter locally you will see the default file view. Create a new notebook, for this walkthrough, I’ll use Python 3.6. At the time of this writing F#, Python 2, Python 3 and R are other default options. Jupyter supports dozens of kernels, no doubt Azure will support more in the near future.

Somethings you will notice if you are used to running Jupyter locally:
- Addition of a Data menu option
- Addition of a Libraries menu option

Data
Upload flat files to your library. I am still working through the nuances of data persistence. In one menu there is a warning that your data will not be saved, but in a tutorial, it specifically calls out that data imported there will be saved. Oddly no documented support for One Drive or Sharepoint data, but DropBox, Azure Table Storage and Azure Blob Storage are noted.
Libraries
Opens a new tab back to the libraries menu. Using the back browser function in your running notebook is a bad idea.
After working for a few hours in Azure Notebooks, I have found myself using Data, Input and Output folders just like when I run locally. My Notebook session has timed out twice due to inactivity (about an hour on one, one and a half hours on the second) and both times my very small flat files have been there.
Public vs Private Notebooks

If you have a notebook you want to share with the open Internet, use a public notebook. However, frequently you won’t be ready to share your notebook yet, or perhaps you are doing an analysis that uses data that should not be shared outside your immediate department. To share with a specific list of users, use the Share button from the libraries menu. Notebooks can be shared with anyone who has a Microsoft account. Chances are if you are reading this at all, your company is using Office 365 and Active directory - so anyone internal is likely to have an account. Sharing notebooks by name/email is simple. I have not found a reference acknowledging if group policies or row level data are supported. Please contact me via twitter if it is documented.